

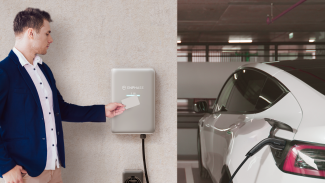
This guide explains how to integrate your Enphase IQ EV Charger with the E-Flux by Road platform. It is designed for both installers and owners to ensure a seamless setup and activation process.
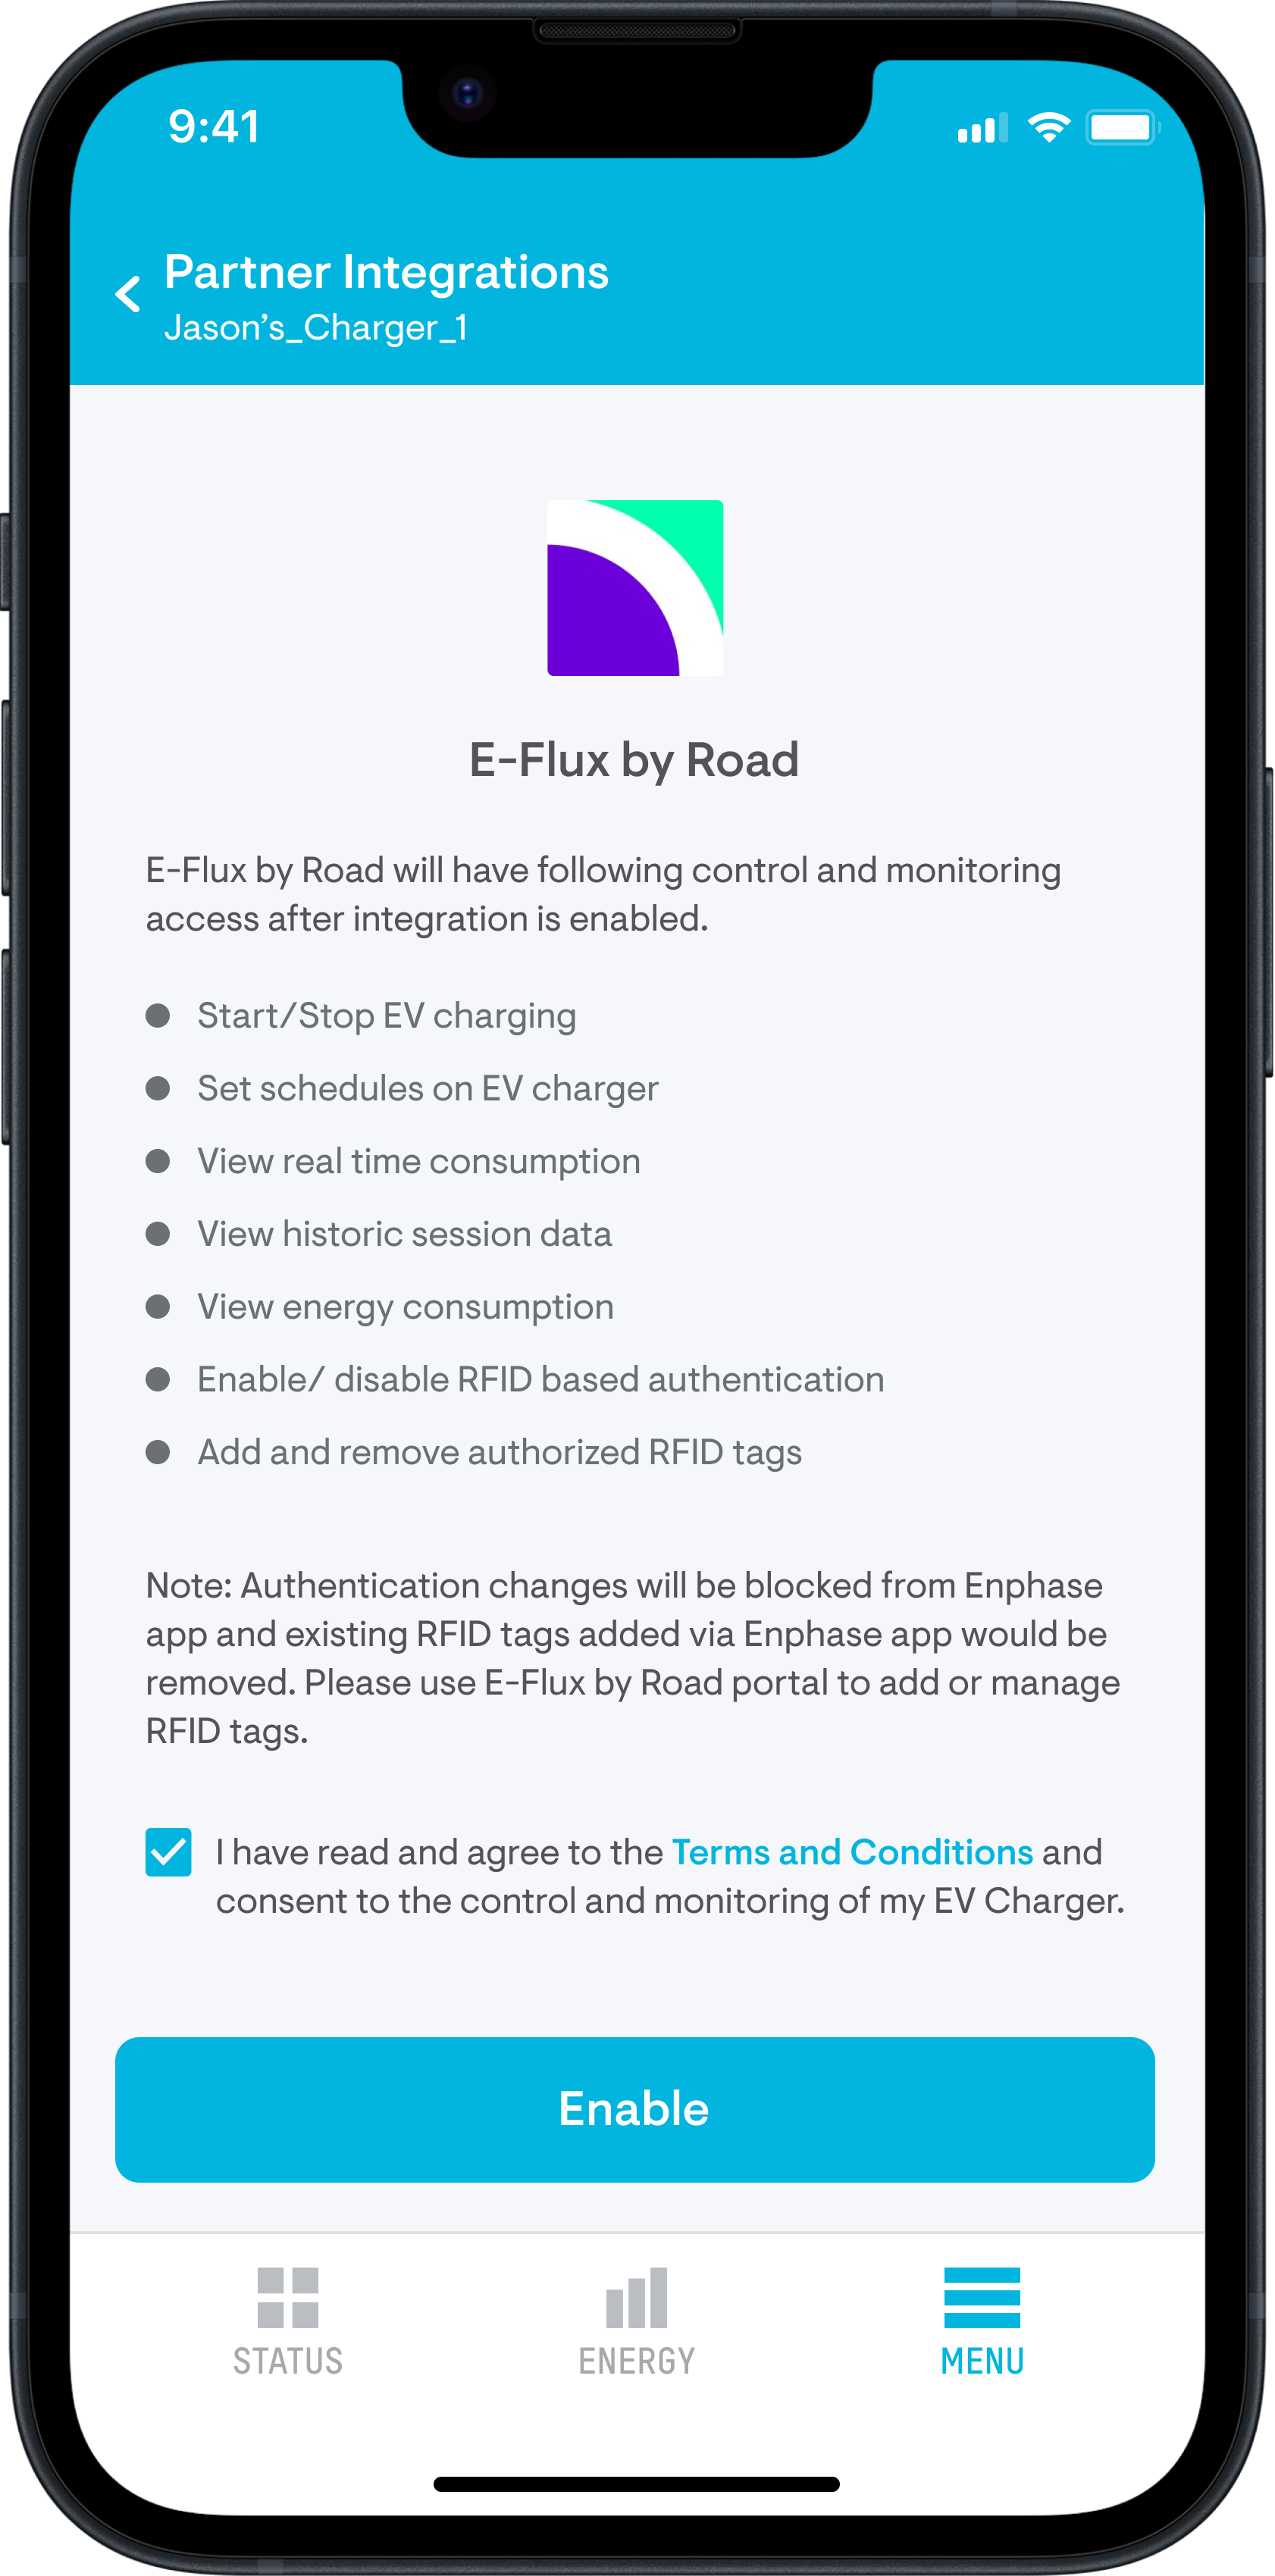
Once integration is enabled, Road.io will be able to:
- Authenticate charging sessions
- Add/Edit RFID cards
- Monitor data for all charging sessions
- View historic consumption data
Owners can still use Enphase App to monitor and control their IQ EV Chargers including:
- Start/Stop EV charging
- Set/Update all charging modes
- Monitor real time and historical energy consumption
- Monitor data for all charging sessions
- Generate charging reports
- Manage charger settings
Note: Authentication settings will be blocked from Enphase App. Owners need to use E-Flux by Road portal to manage RFID Authentication settings.
Integration steps
Step 1: Install and commission the IQ EV Charger
- Use the Enphase Installer App to install and commission the charger. Refer to the quick install guide for the steps to install the charger
- If the owner plans to commission the charger using the Enphase App after installation, refer them to the homeowner commissioning guide
Step 2: Customise charger settings in the Enphase App
Once the charger is commissioned, owners can configure the charger via the Enphase App.
- For standalone IQ EV Chargers without Enphase solar or battery: Use the standalone app setup guide
- For systems with Enphase solar and/or battery:
Use the integrated app setup guide.
Step 3: Enable Partner Integration with E-Flux by Road
To initiate the integration with E-Flux by Road:
- Open the Enphase App
- Go to: Menu → Settings → IQ EV Charger → Partner Integration
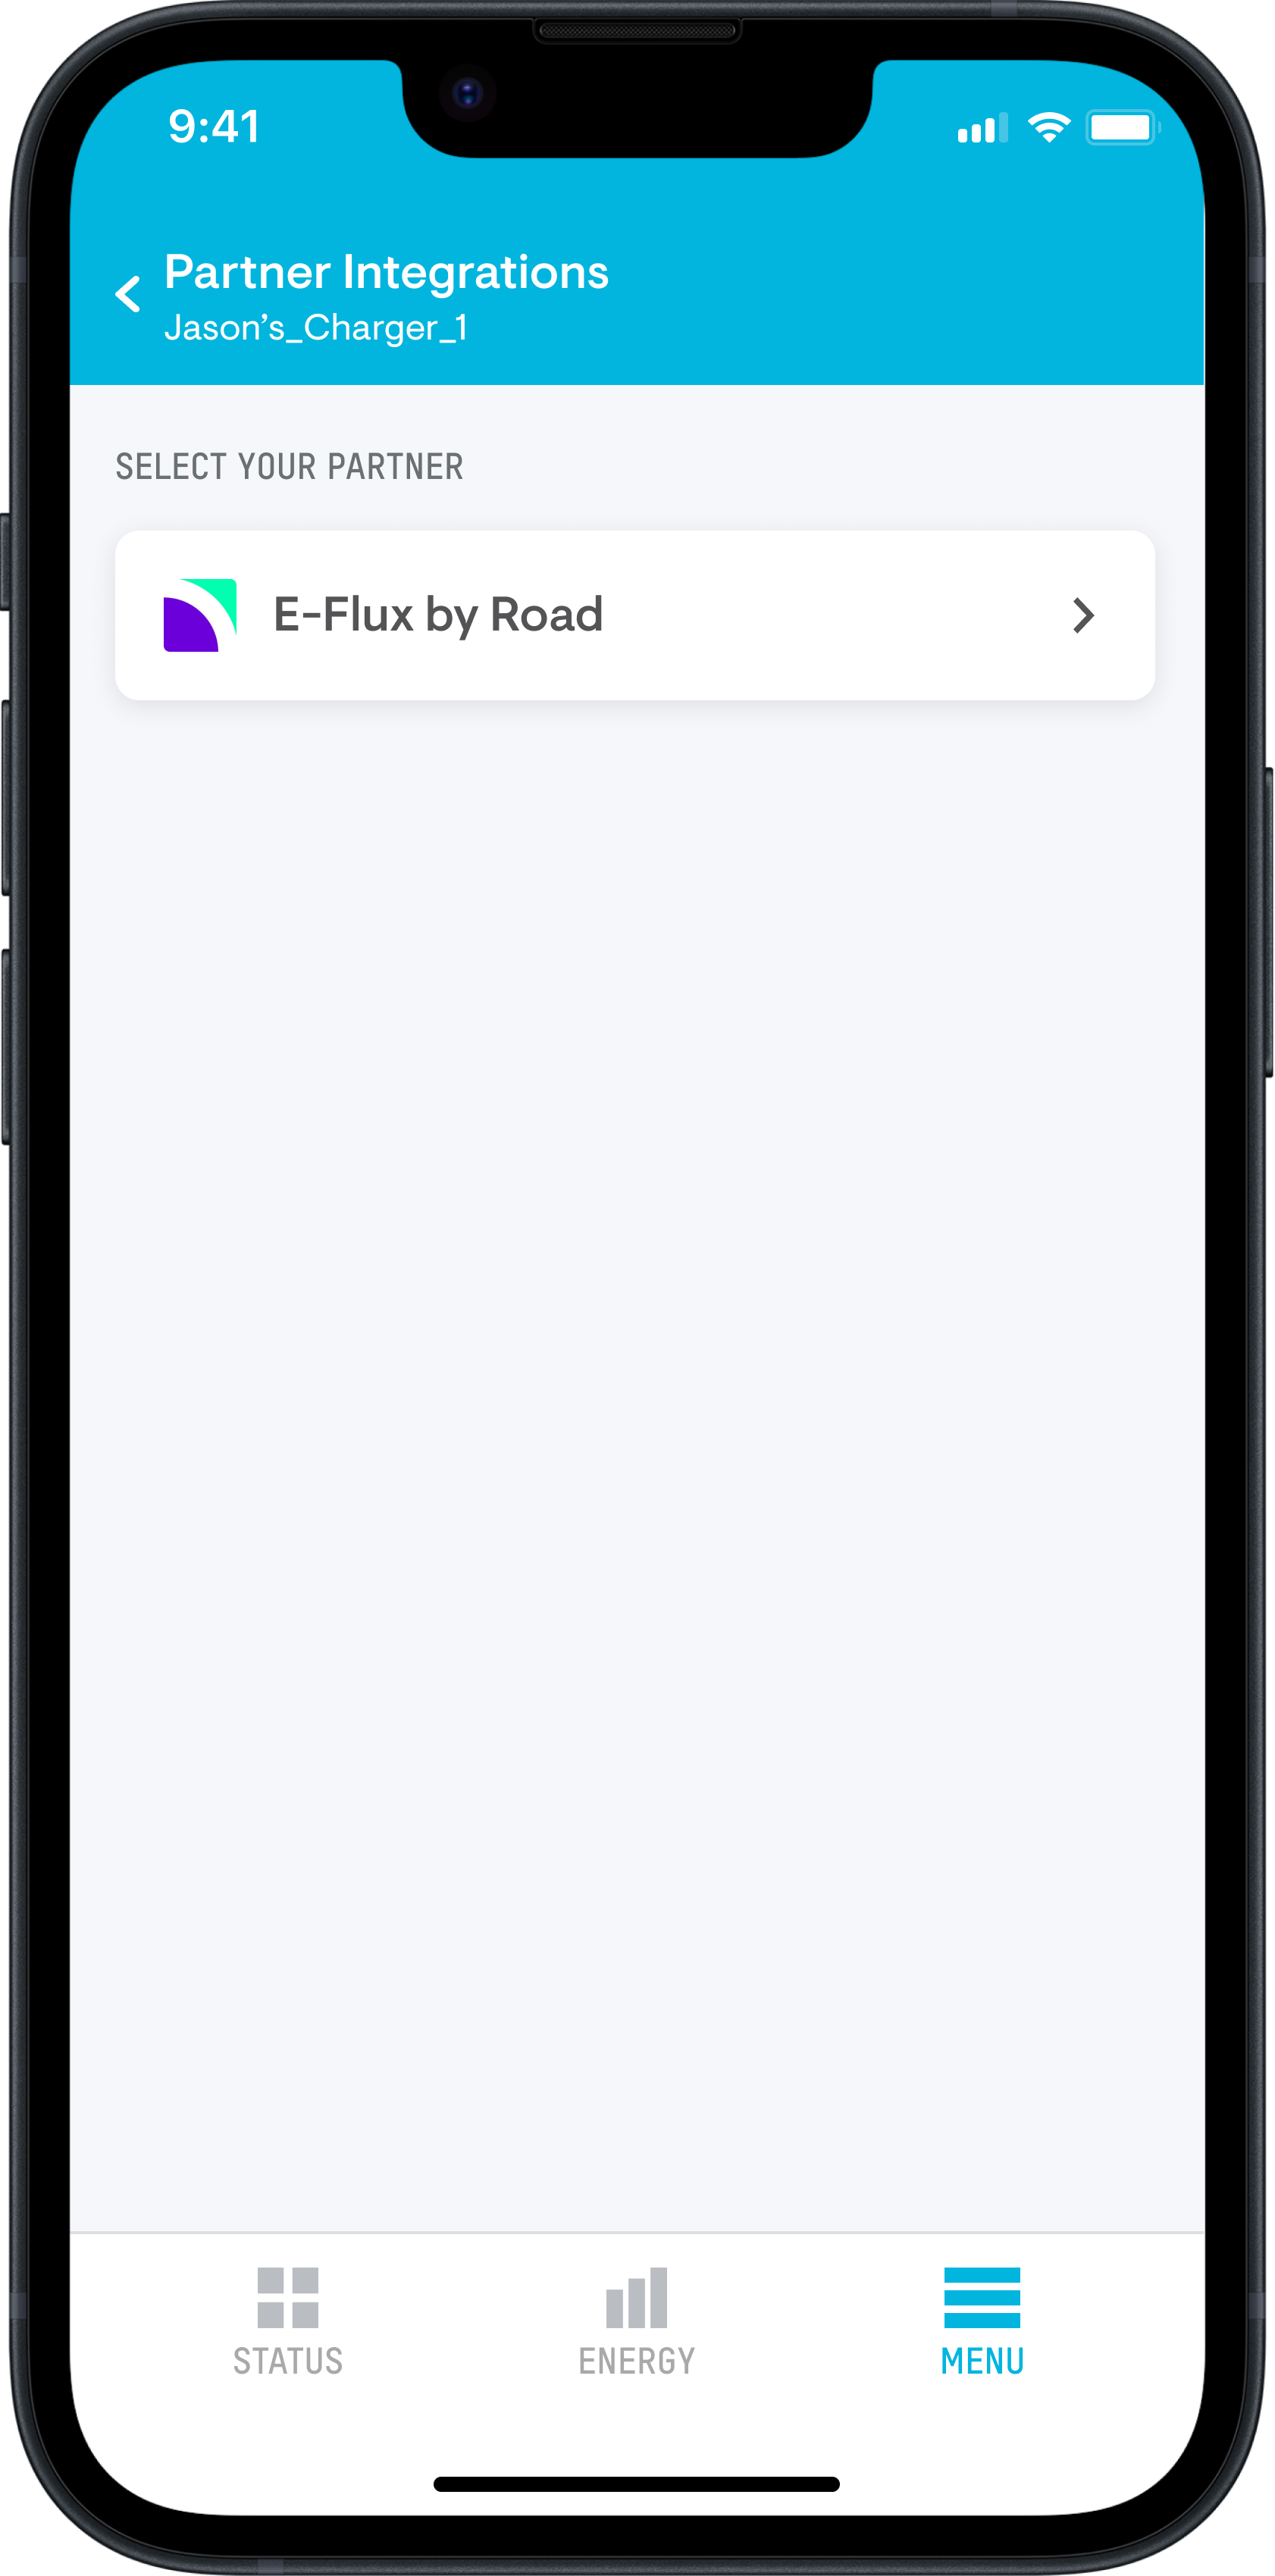
- Select E-Flux by Road as your partner
- Review the access details and grant consent to share system data
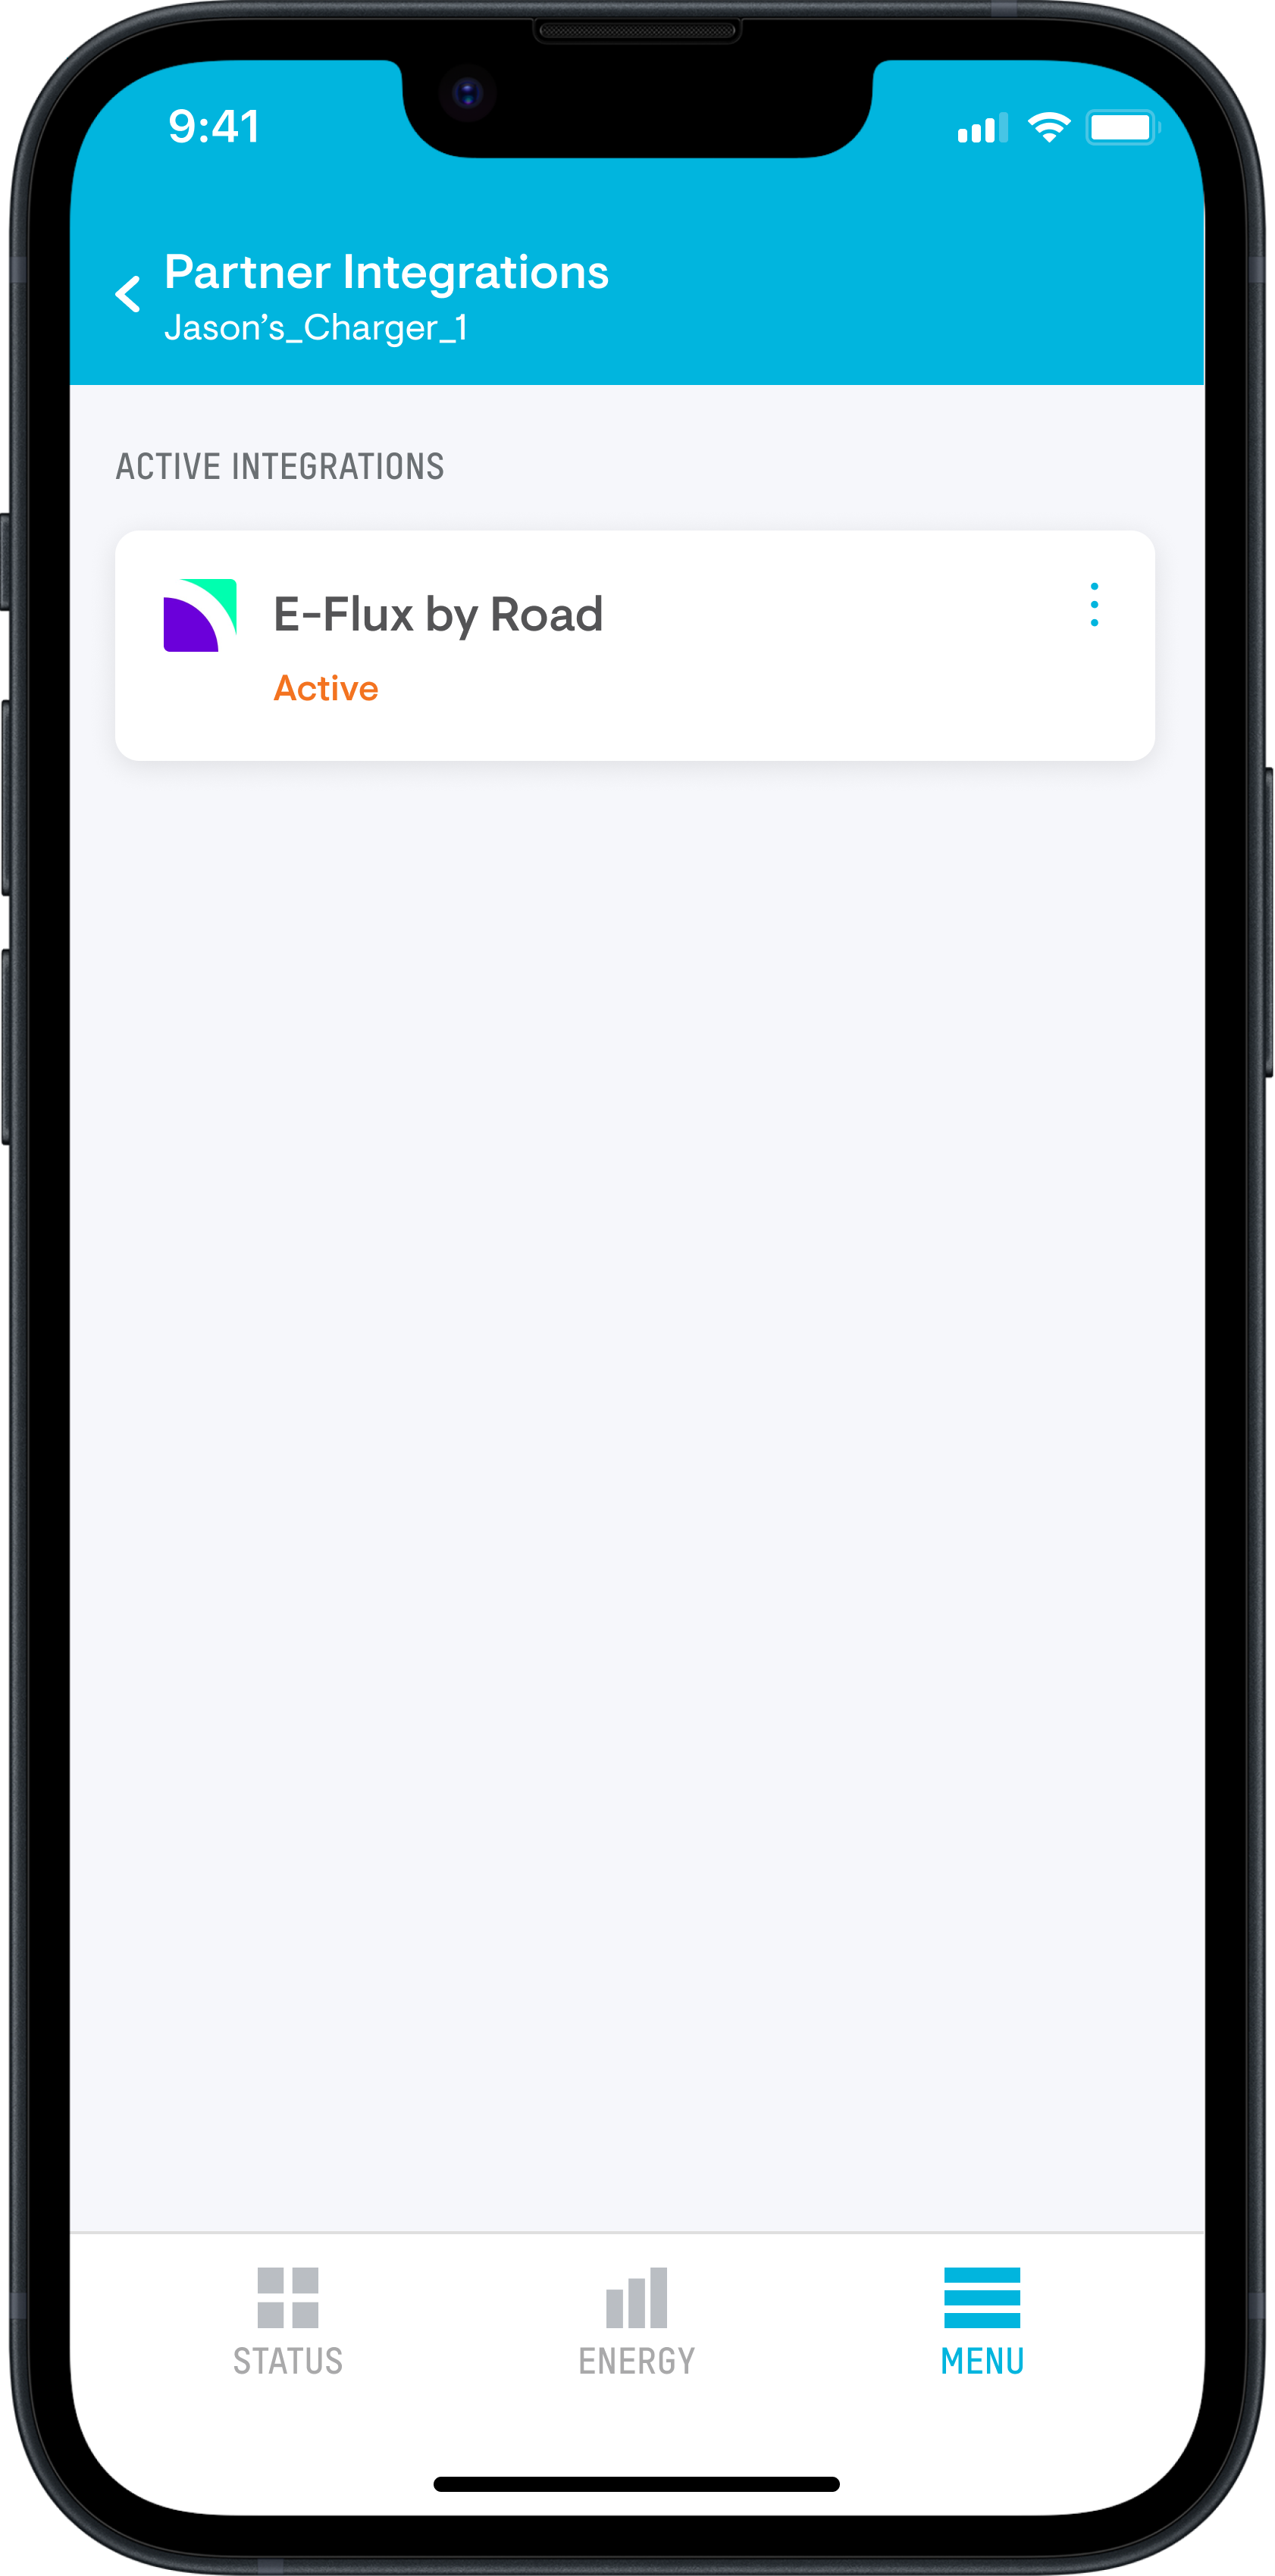
- Once enabled, a connection request is automatically sent to the E-Flux by Road platform
Step 4: Installer – Activate the charger on E-Flux by Road
- Log in or sign up for a Field Service Account at www.e-flux.io/installer-signup
- From the left menu, go to Setup New EVSE
- Enter the serial number or OCPP ID of the IQ EV Charger
- Click Setup charging station
- Select Upload Configuration, then click Next
- Define the connector type and save the connector configuration
- The charging station is now activated and ready for owner registration
Note: A Field Service Account is for installers only and is used for technical support communication.
Step 5: Owner – Register the charger on E-Flux by Road
- Ensure your installer has completed Step 4. If not, contact them or call E-Flux by Road support
- Create a user account at www.e-flux.io/signup. If the charger is provided via your employer, check your email for a registration invite.
- Follow the steps to add your charging location and register the charger
- Your charging station is now successfully registered and ready to use
Your Enphase IQ EV Charger is now integrated with the E-Flux by Road platform and fully operational. You can view completed sessions on your E-Flux platform used for billing.
How to manage Authentication once charger is connected.
- On each plug-in, you would need to authenticate sessions by presenting a valid RFID card. Charging will not start unless the session is authenticated.
- Authentication settings will be blocked from Enphase App and cards already added on Enphase App will be removed. Use E-Flux portal to add or manage RFID cards.
- Once integration is completed you would be able to use your company provided card by default for authenticating sessions.
- You can also add other RFID cards as whitelisted cards from E-Flux portal and use them to authenticate the sessions. Although you would be reimbursed only for the sessions authenticated using company provided card.
